Those little Arduino robot-car kits are neat and all, but sometimes something that provides a bit more space for electronics, something that has a little more OMPH just sounds like much more fun!
So let’s build a box! With wheels and motors and all, obviously. Let’s call it a rover.
Here is the wishlist for the mechanical build and drivetrain:
- Be robust enough to survive people hopping on, not worry about rough terrain and survive collisions with trees and the like
- Be powerful enough to climb steep hills, while loaded with drink crates and other stuff that’s annoying to carry
- Wheels large enough to go over rocky paths, through forests and high grass and puddles, without getting stuck.
- All-wheel drive, for the same reason
- Spacious enough to fit at least 1 kWh of battery capacity and plenty of electronics
- Fit in my car’s trunk
The frame
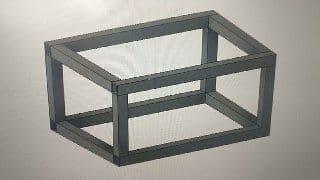
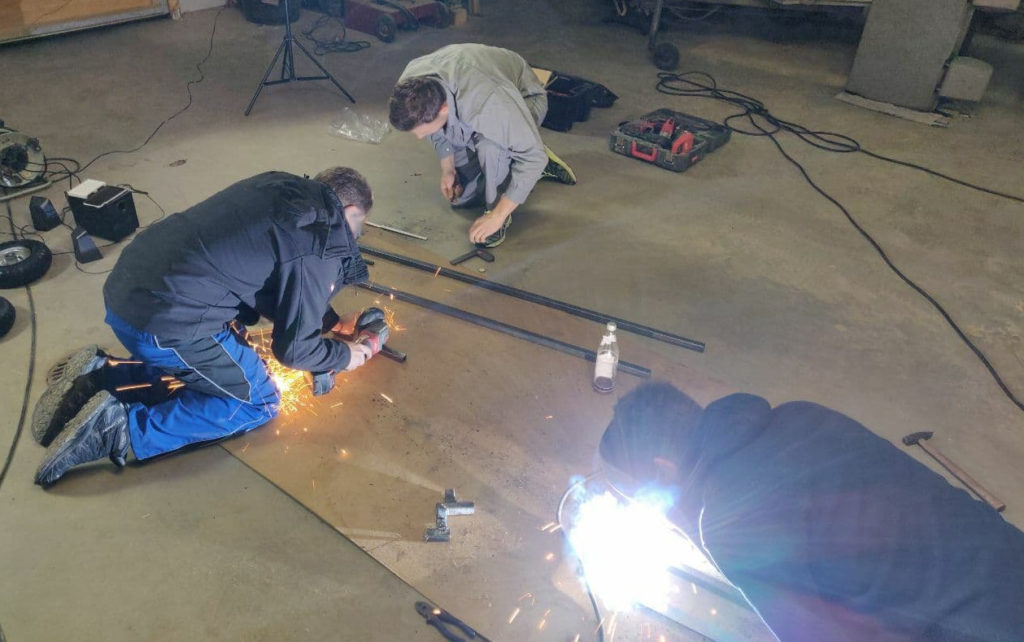
To provide the structural strength we’re looking for, we’ll weld the basic structure from square steel tubing. Since neither of us is exactly an expert with the stick welder, we’ll use tubing that’s probably overkill, but also harder to melt through and ruin during welding. That’s also why we can get away with rectangular sides and no diagonal struts.
Despite starting the learning curve at close to zero, the frame turned out surprisingly square. Nice!
Next step…
Axles, Wheels, Motors, Chain
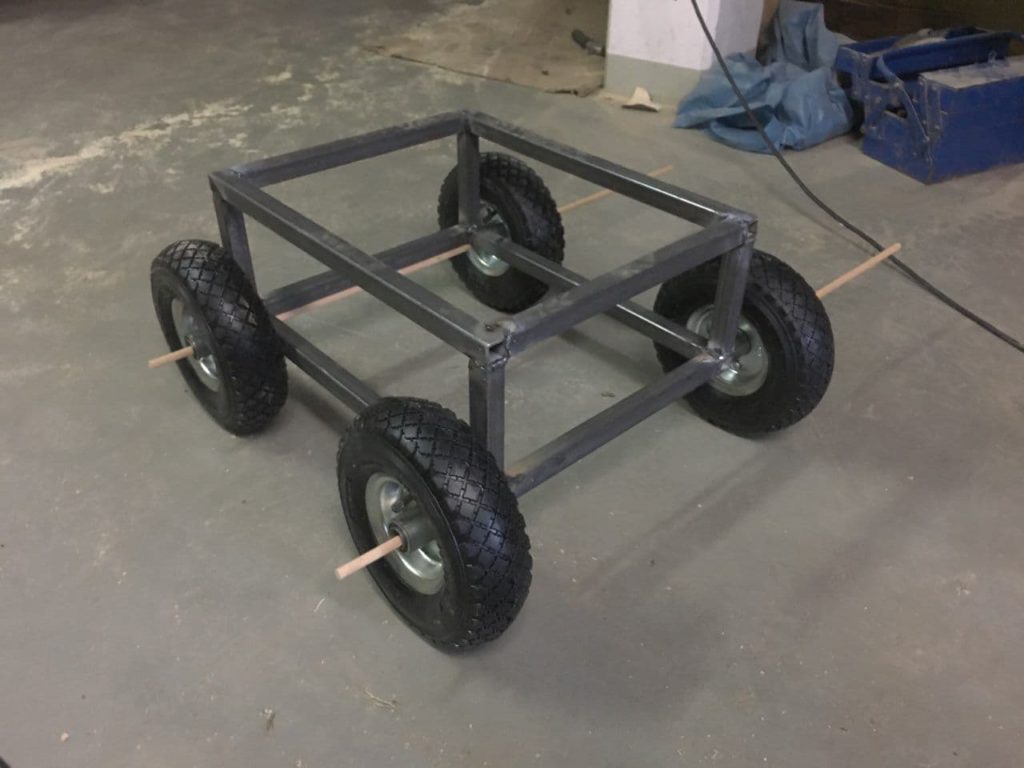
Weld on some 20mm handcart axles, put on matching wheels and some bits and pieces to keep them in place. Paint everything with anti rust paint to prevent corrosion, then in black fo the looks.
Oh, and a wood panel to the bottom, so we can mount the elctronics on.
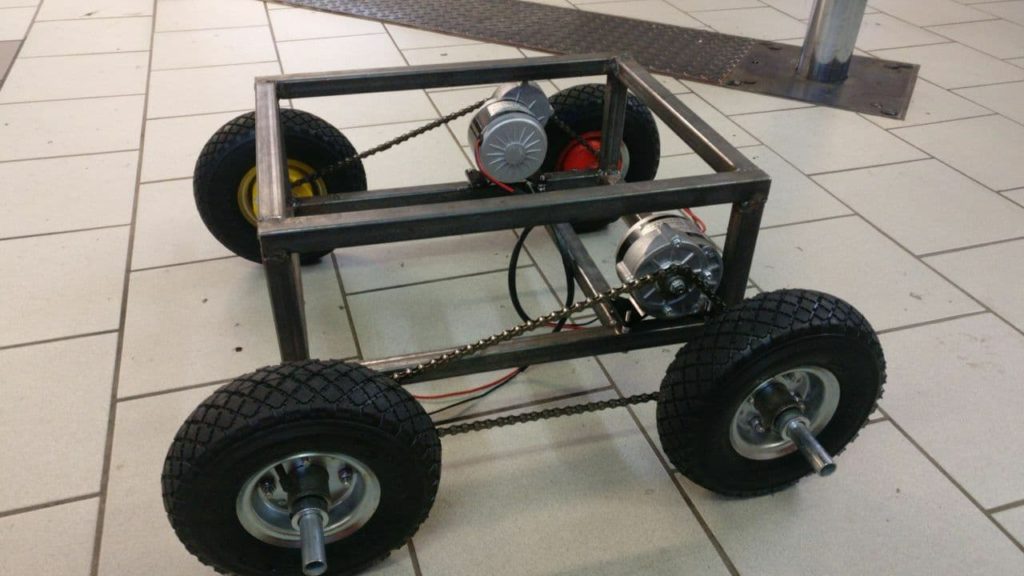
Add a 250W 24V geared DC motor on each side and chains to link them with the wheels. Ah right, how do you drive wheels that aren’t meant to be driven?
Chain sprockets, days of 3D printing and long bolts.
Motor driver, battery and a controller
Add a battery, some switches, a contactor, H-bridges and a microcontroller to get some first movements.


